7 Places Water Hides After a Flood That Most Homeowners Miss
Water damage after a flood goes deeper than what you can see. Learn where water hides in Texas homes and why professional inspection matters.
Water damage after a flood goes deeper than what you can see. Learn where water hides in Texas homes and why professional inspection matters.

Learn what your Texas homeowners insurance covers after water damage, what it doesn’t, and how to navigate claims with confidence.
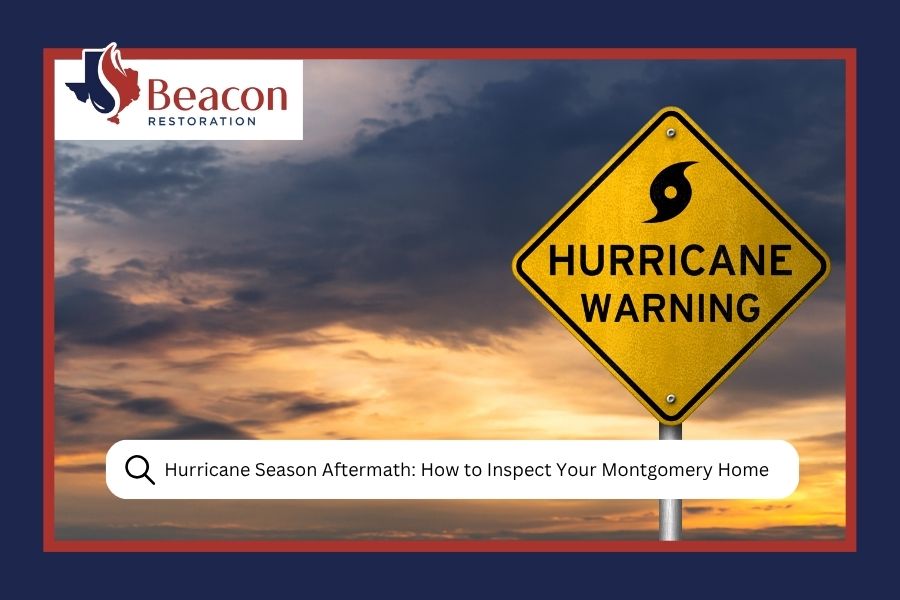
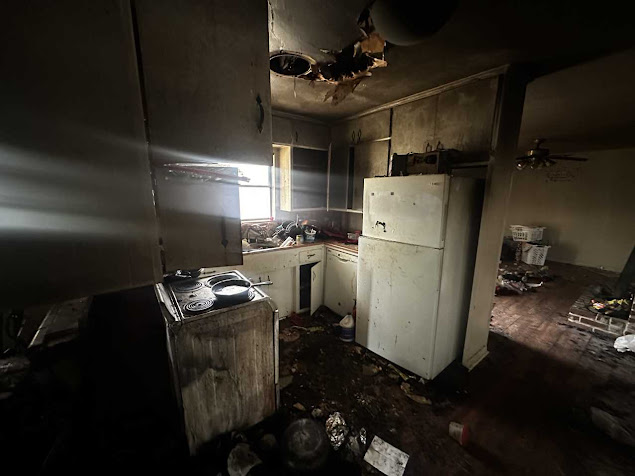
Learn how to spot hidden water damage in your Montgomery County home after hurricane season. Expert inspection tips from local restoration pros.
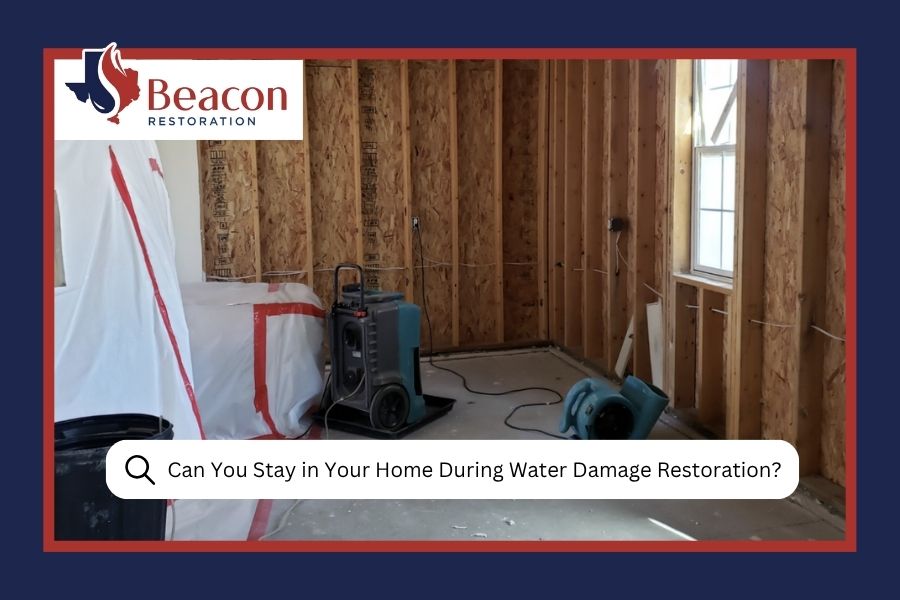
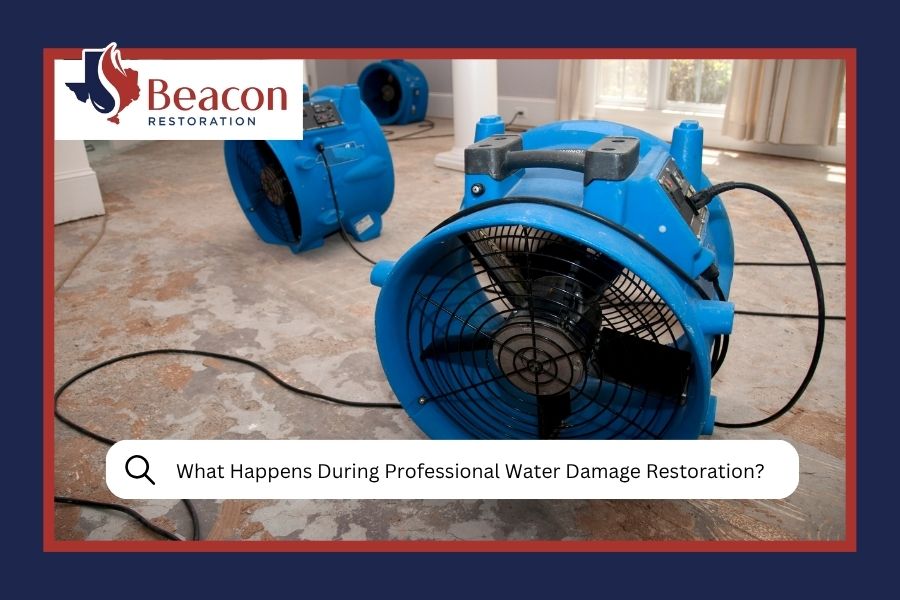
Wondering if you can stay home during water damage restoration? Learn about safety factors, timeline expectations, and what to expect.
Dealing with property damage restoration in Montgomery County, TX can be overwhelming, especially for families with children and pets. The process of repairing and restoring your home requires careful planning to maintain a balanced and peaceful environment. At Beacon Restoration, we understand the challenges homeowners face, and we’re here to make the restoration process as seamless as possible. Throughout the restoration journey, our dedicated team ensures the well-being and comfort
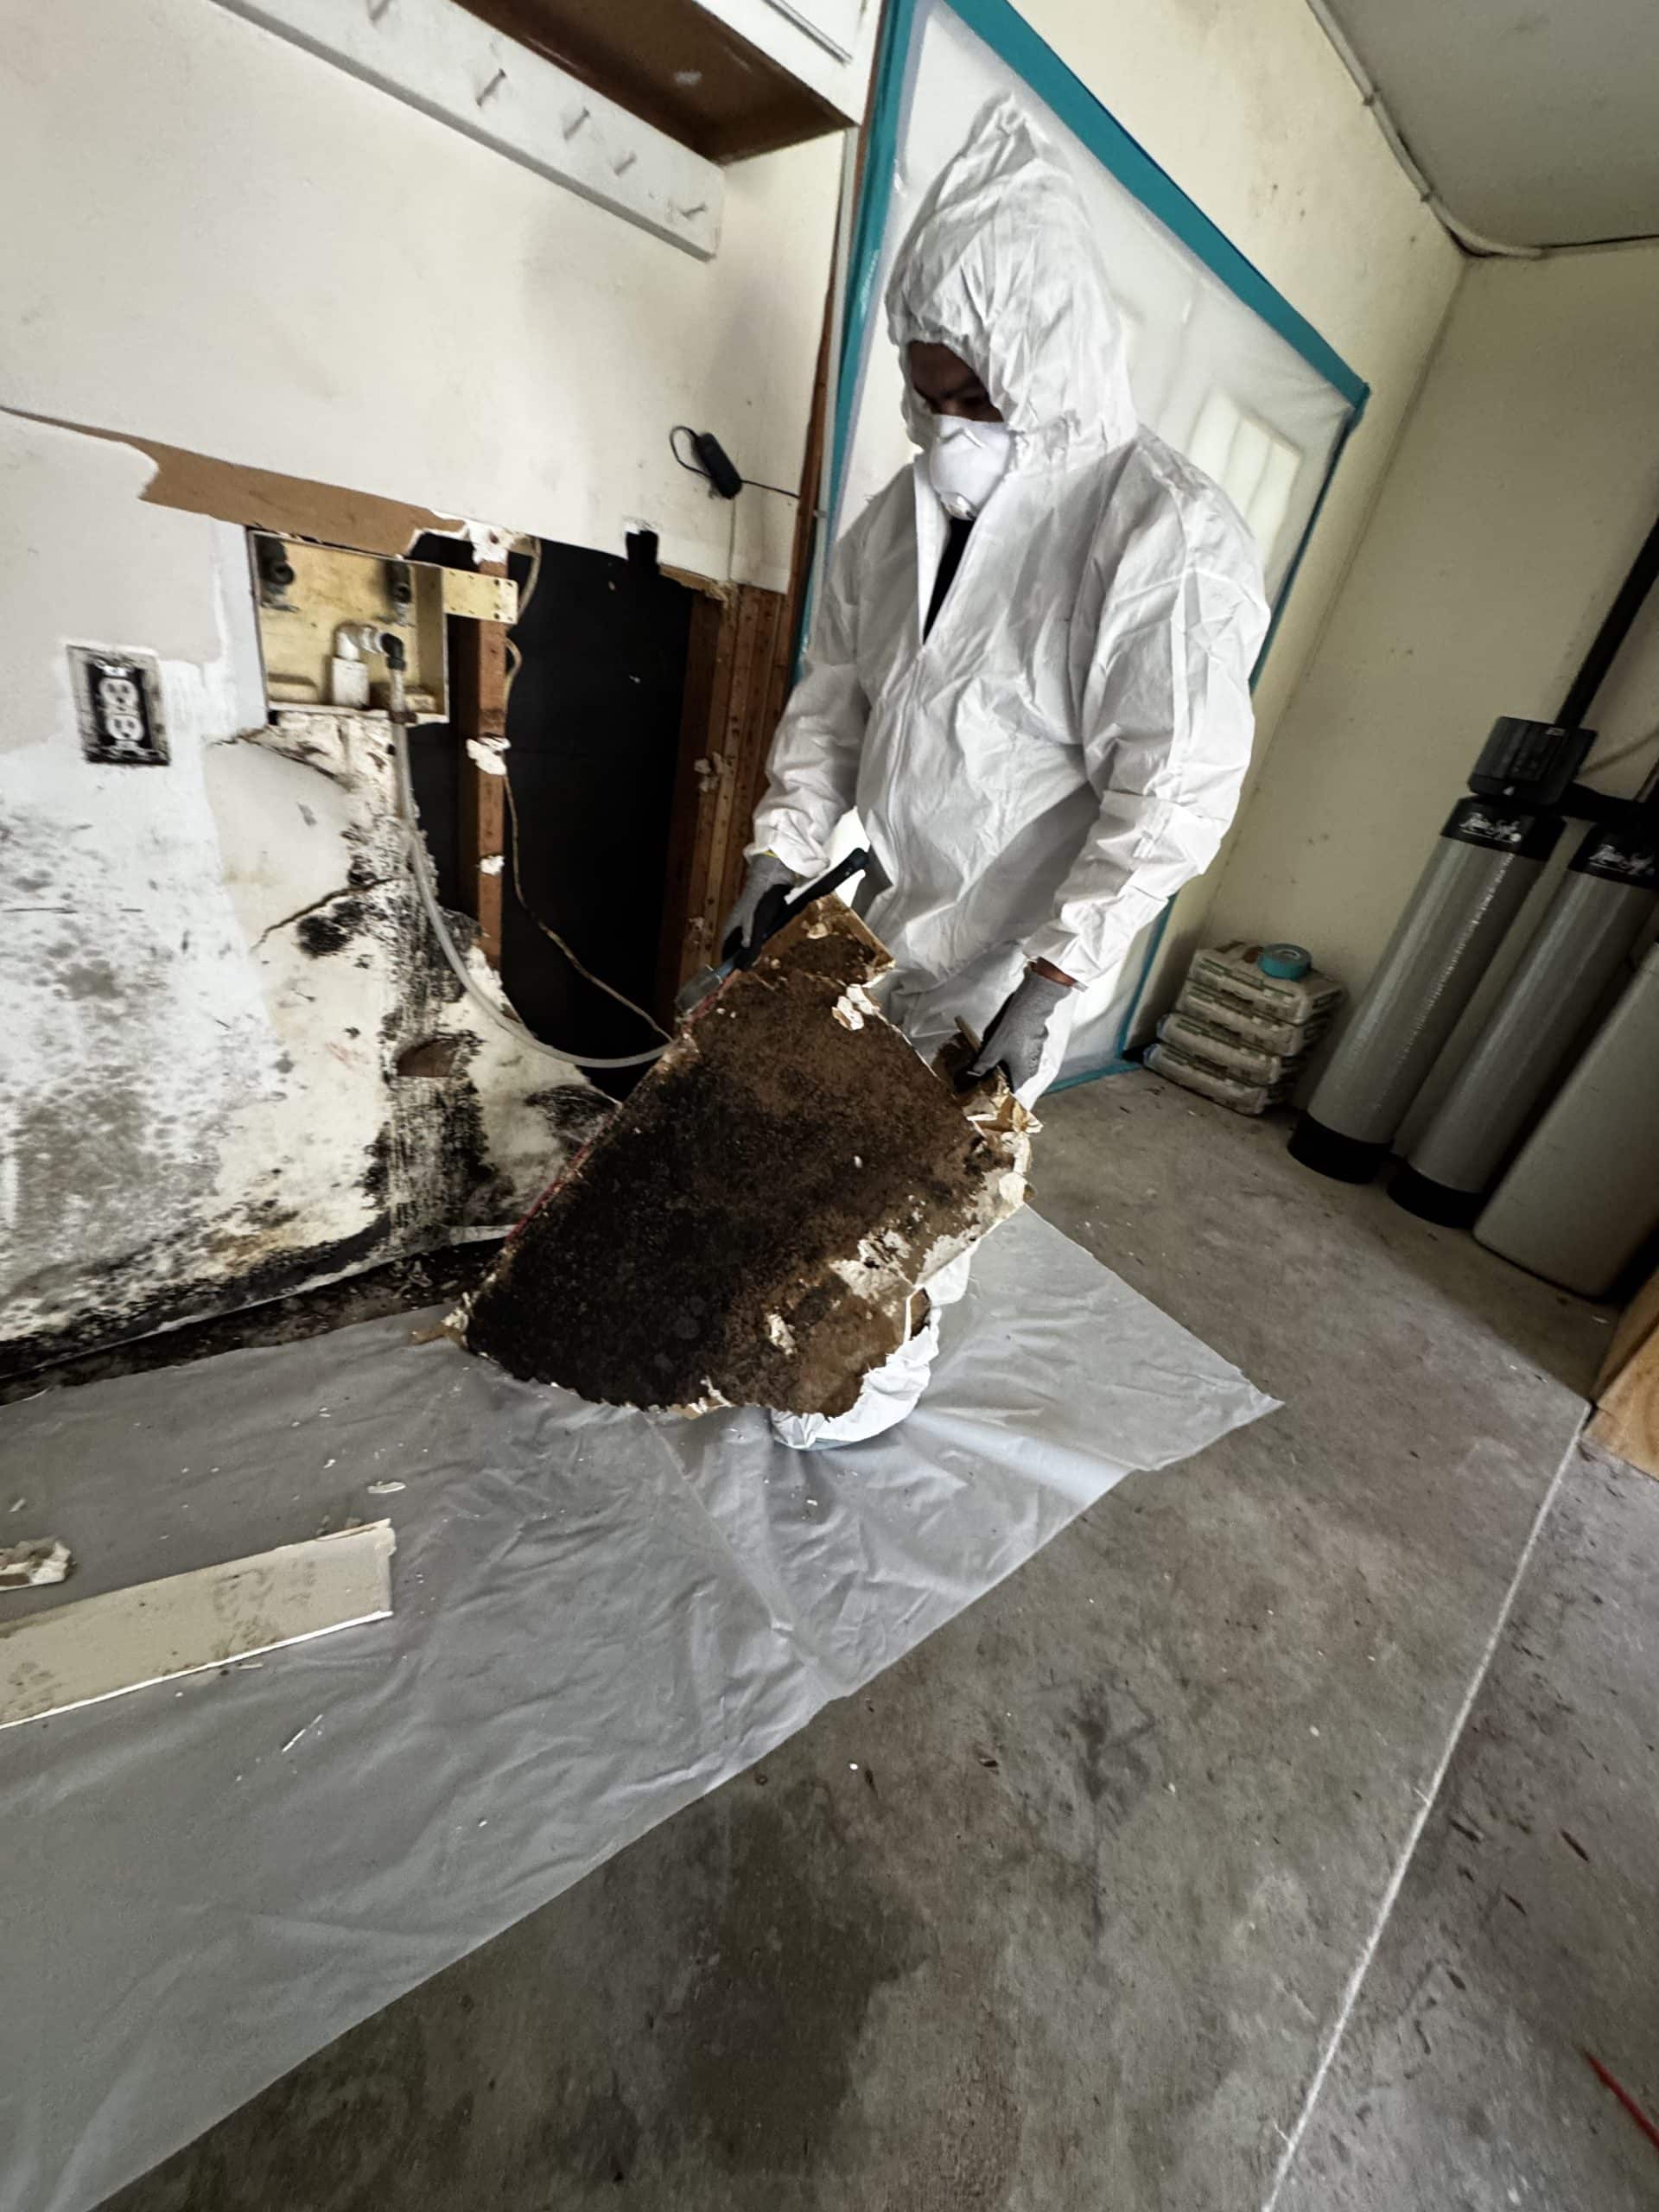
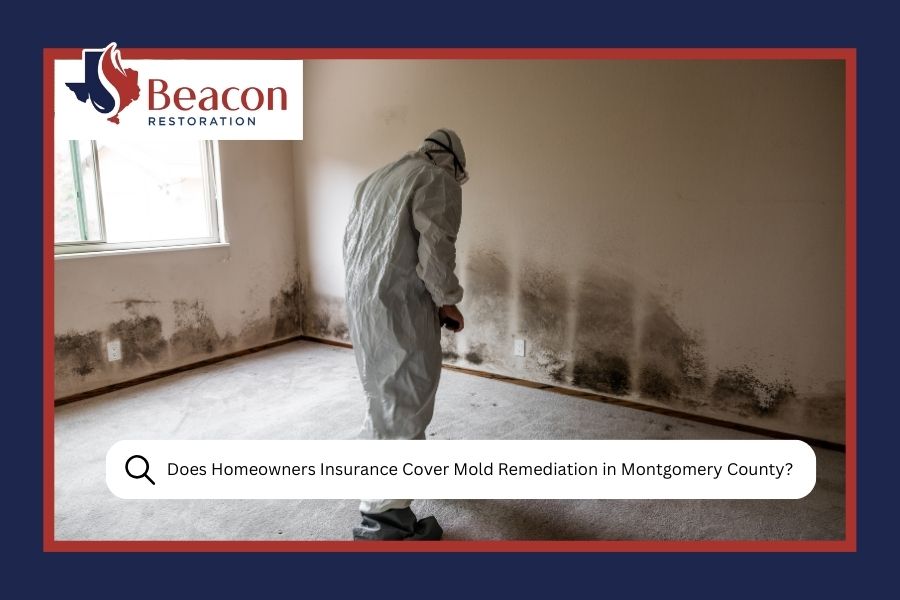
When it comes to mold, there’s a lot of confusion out there about what it is, where it grows, how dangerous it really is, and what to do when you find it. That’s where we come in. At Beacon Restoration, we’ve seen it all—bathroom mold, attic mold, mold behind walls, crawlspaces, HVAC systems, even mold in brand-new builds. And as a local Texas company that takes pride in doing the